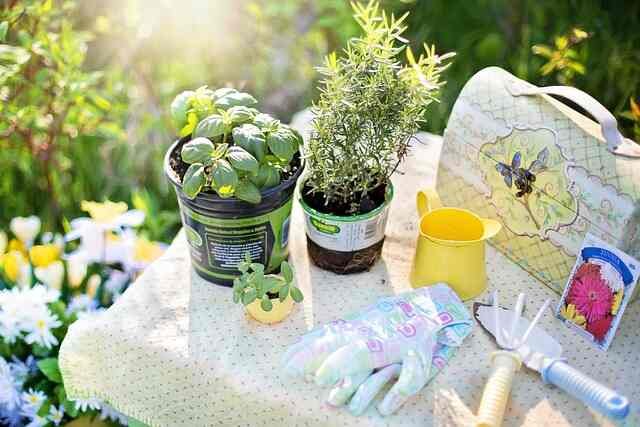
Dear Plant Lover, How are you all? Today in this article, I’m going to share about Top 8 Must-Have Gardening Tools and describe How to Use them.
Tools.
The right tool for each job. That might sound a bit boring, but actually, it’s really fascinating. Discovering what you can do with your tools, how to use them most efficiently and effectively to do a great job, and choosing the right tool each time.
Different Kinds of Tools
There’s more than one type of shovel, for example, and shovels are not the same as a spade. Trowels can be used in different ways. How do you put plants in the ground? How do you level your beds? So, there’s not a huge amount of jobs to do in the garden that need a special tool or special skill, especially in a no-dig garden like this. Mostly, it looks after itself, but I want to show you the best ways to use a few tools, the best ones to have, and to look out for.
Spade
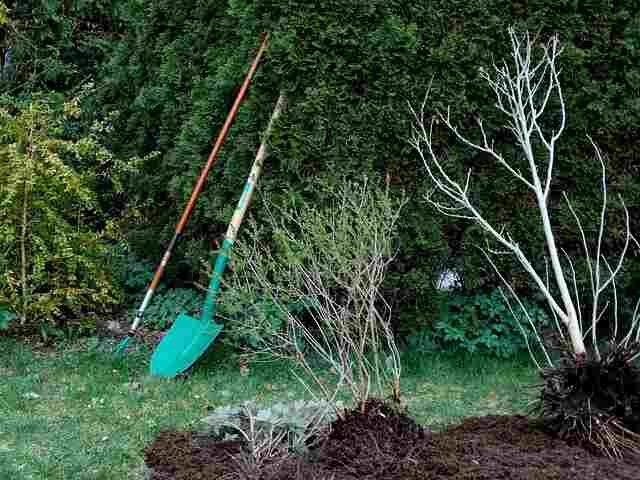
Useful for digging out roots and planting trees. So, maybe when you’re gardening, traditional gardening, one of the first tools you might think of using would be a spade. (Laughs) Actually, with no-dig, we don’t use a spade much, but if you do use a spade and you can afford one like this, it’s really good. It has a lovely sharp blade and is very useful for digging out bramble roots, for example, or planting trees.
Shovel
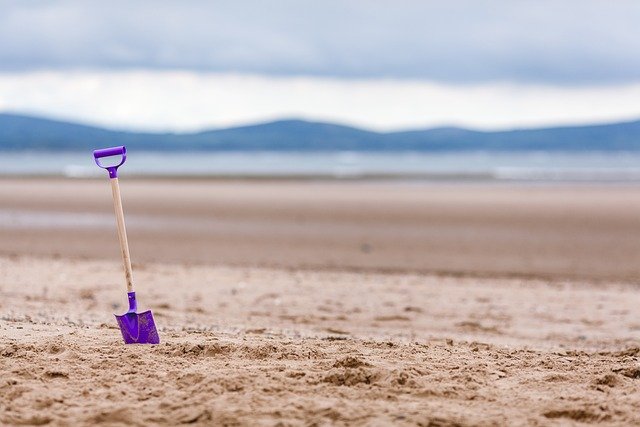
A spade is thinner; a shovel is broader. A shovel’s more about literally shoveling up.
**Plastic vs. Metal Shovels**
This is an unusual shovel for some of you, made of plastic. I bought this shovel five years ago and was not sure at the time. I thought, “Plastic shovel? Surely that’s not going to work and can it be strong enough?” We’ve put it through a lot of shoveling. By comparison, this is a metal shovel; it could be wider as well. One thing that’s really interesting about these two shovels is the angle of the blade.
The metal shovel’s higher blade doesn’t work as well. The angle is dead right on the plastic shovel. When shoveling, you want it to be level to the ground, horizontal, underneath whatever you’re shoveling, and not digging in. That’s important and a real asset of a plastic shovel, as it doesn’t bite into the soil. It makes it easy to get a nice clean finish without digging into the soil below.
**Plastic Shovel Advantages**
It’s very light, reducing your workload when shoveling a lot of material over a period of a day or morning. With a plastic shovel, only the weight of the compost is a factor, not the tool itself.
Fork Prong / Manure Fork
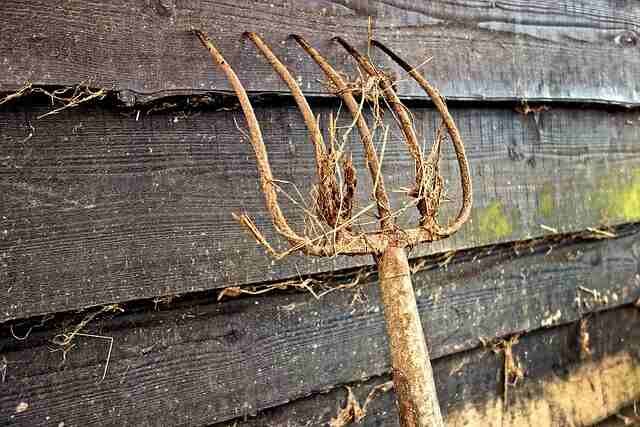
This is a fork prong, or manure fork, with a shorter handle. Not only does the working bit of the tool matter, but the handle itself has quite a bearing. The short handle gives you nice control over the end. Sometimes long handles are useful for reaching further into a heap.
For example, with a pile of mixed wood chip and grass, the fork goes in easily, whereas you wouldn’t get a shovel in there. A spade might work, but it would be a lot of unnecessary effort. Using a fork for moving compost, turning, or spreading it in the garden is less work than using spades and shovels. It’s also great for breaking up lumps of material.
Hoe
Hoes come in many shapes, sizes, and types. You may never need to use a hoe if you have a small garden with only a few beds. For larger areas, especially with compost that has a lot of weed seeds, a hoe can be very useful.
**Using a Hoe Effectively**
The old saying, “You hoe your weeds before you see them,” means you need to use a hoe when the weeds are tiny, before they develop leaves. This disturbs the root, which is most easily disturbed on a bright sunny day. By evening, those tiny weeds will die in situ, saving you a huge amount of work.
**Types of Hoes**
This is a hoe with a thicker blade that disturbs the soil too much for regular weed hoeing. For normal weed hoeing, a thin blade is preferable. Copper hoes, while more expensive, are excellent for their ease of action and efficiency. They don’t rust and stay smooth and shiny.
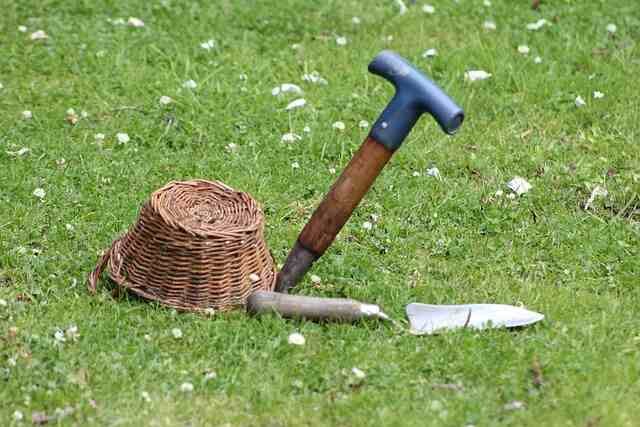
Trowel
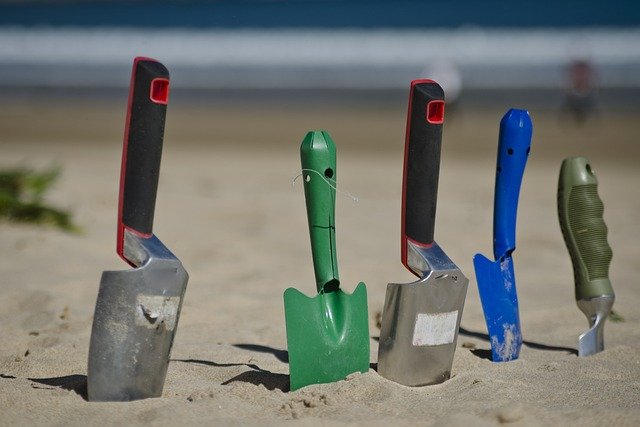
**Removing Weeds and Planting**
The trowel is mainly used for removing top roots of perennial weeds and for planting. For weeds like bindweed or couch grass, use the trowel to go in almost vertically next to the new growth and give it a little lever to break off the new root growth. This slows down regrowth.
**Planting with a Trowel**
For planting potatoes, use the trowel to make a slit rather than a hole. Insert the seed potato with sprouts facing upwards, cover it with soil, and you’re done. For pot plants, cut a square of soil the size of the pot, insert the plant, and fill in the surface with minimal disturbance.
**Benefits of a Copper Trowel**
Copper trowels don’t rust and keep smooth and shiny. They also have a nice curve, making the blade stronger and less likely to snap.
Rake – Uses and Types
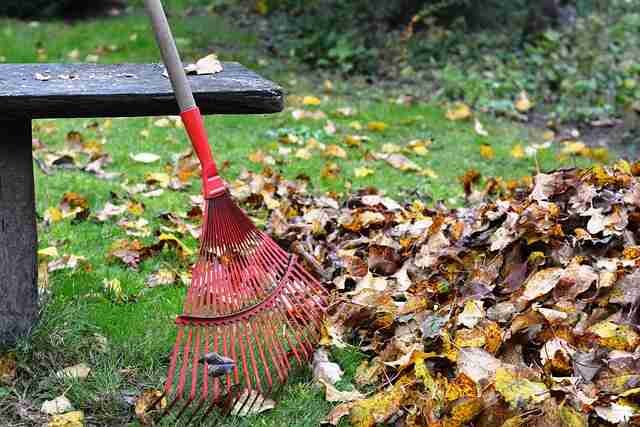
**Leveling the Surface**
A rake is used for leveling the surface after it has been disturbed, such as after harvesting potatoes or garlic. Use it in a gentle horizontal motion to avoid moving large amounts of material.
**Scuffing Weed Seedlings**
After raking, you can use it to disturb small weed seedlings. It’s a good opportunity to pick up debris and level the ground before planting.
**Types of Rakes**
For this kind of work, a short prong rake is preferable to a long prong rake, which is better for raking up leaves. The long handle of the short prong rake makes it easier to use, especially if you’re tall.
—
### Keeping Tool Handles Clean
Keep handles smooth and clean. Avoid using tools with dirty, wet gloves, as soil on the handle can be unpleasant. Occasionally clean and oil handles to maintain their smoothness.
Long-Handled Dibber
**Choosing the Right Dibber**
A long-handled dibber is great for making holes for planting with minimal disturbance. Two types of dibbers show different designs. The fatter one is preferable as it makes a hole that’s slightly larger than the root ball, ensuring a snug fit.
**Using the Dibber**
Gently press the dibber into the soil to create a hole of suitable diameter. Insert the plant and push it down, ensuring good contact with the soil. This method is quick and efficient for planting many plants.
Smallest Tool – Folding Pocket Knife
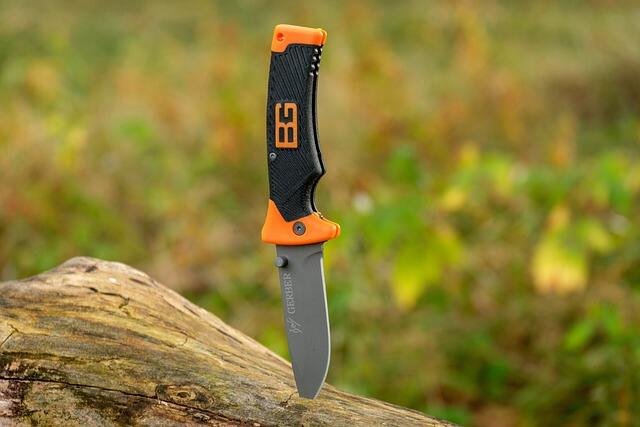
**Choosing and Sharpening a Knife**
A good folding pocket knife is incredibly useful in the garden. I prefer an Opinel knife for its durable, sharp blade. Use a sharpening stone to maintain the blade’s sharpness. Sharpen at around 25 degrees and test sharpness by feeling the blade against your thumb.
I hope you’ve enjoyed learning about the best ways to use some key garden tools. This is not the ultimate primer but should give you pointers to get comfortable with your tools. Find ones you like and stick with them. They become like extensions of yourself.
Enjoy your gardening with some great tools! Happy Gardening.