Hey guys, how are you all?
Toaday I’m going to show you how I rehab Begonia because it suffered quite a bit of abuse. A lot of you guys who grow this plant will probably experience this at some point, where the plant has outgrown its trellis or whatever, and it just clammers down everywhere. I’m just going to try to make this plant look natural again.
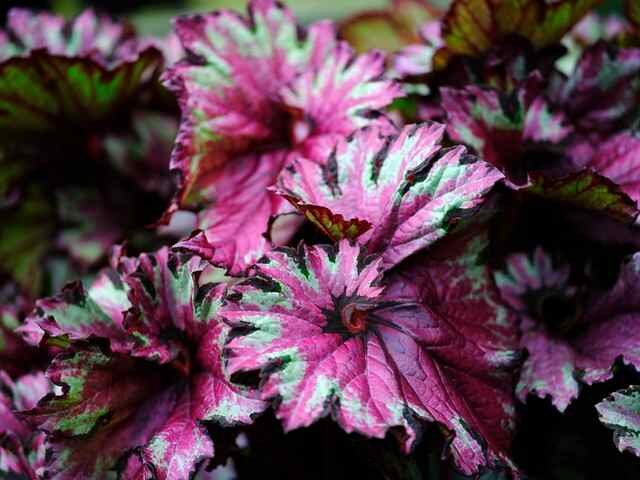
Now, really quickly about the care: bright indirect light, maybe I would even say medium indirect light. This is a bit of a contradiction , but this plant, if you give it too much bright light, it does lose its red back. I did manage to get some of the red back ever since I moved this into my living room with slightly lower light. At some point, this plant completely lost its red-colored underside, which it is really known for. I’m not even sure if, in this rescue artice, I’ll be able to bring the red back in some of the newer leaves, but we’re going to try.
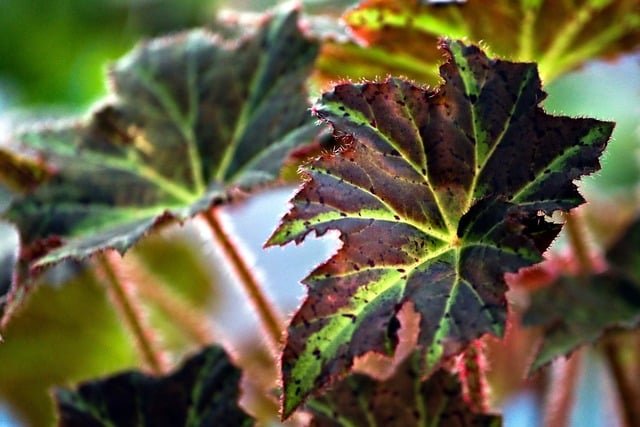
When you buy these plants, they have crimson-red underside, which is an adaptation in their natural habitat to be in lower light because the red allows light to be reflected back up into the chlorophyll. So, when you have this plant, do not give it too much bright indirect light. I might have exposed mine to a bit of direct light at some point because I grew this in my yard at my previous home. This has suffered a lot of abuse, and this one plant here has been moved indoors, outdoors, indoors, and outdoors.
Potting medium: they like to be in a very, very airy, fast-draining potting mix. Depending on where you are, in my high-humidity climate, I don’t want to let them sit in water. They can rot very, very easily, and you can tell when the leaves start putting on this yellow crisping at the edge that is almost mushy. That’s when you know it’s trying to let go of a lot of water; it’s trying to secrete as much excess water out of its leaf as possible, stressing out the leaves.
If you live in a lower-humidity climate, you may want to keep this slightly, but evenly, moist all the time. But you do want to make sure that your potting media is nice and fluffy, so you don’t want it soggy and compacted over time because that will really cause them to suffer. So, airy potting media, and depending on where you live, you really want to water them accordingly.
This is not a pest-prone plant, although it can get some bacterial and fungal infections on the leaves, just as with most begonias. You can spray a bit of fungicide on it if you can, or neem oil does wonders; it’s got really strong antibacterial properties. I fertilize this with just a regular half-strength plant fertilizer, my slow-release balanced NPK ratio fertilizer. I’ve actually propagated quite a lot of these.
Alright, so I’m going to be taking off from longest vine first and then work my way down. I’m going to take this off. I just made a cut off this vine, but it’s already putting out a new bud here. This is where a new plant will emerge from. So, when you cut a plant, make sure that you leave a few nodes behind so it can regrow.
The most precious one for us is the top cutting, so I’m going to be taking off this much. You don’t want a lot of leaves, so you want a very good leaf-to-root ratio. Take this off, and I’m going to take another leaf off. There you go. These are the growth points where new leaves can emerge, and a whole new vine can emerge. Since this is a top cutting, it’s going to focus all its energy on this apical bud here, so this is going to grow upwards with these new leaves. With this particular cutting, I’m going to put this in water.
Usually, for top cuttings, I tend to water propagate them because they have a lot of leaves here, and you need a lot of water to sustain these leaves; otherwise, they would dry off and crisp up. At the same time, you also want this plant to push out roots. So, the leaves are helping the cutting here by photosynthesizing and providing it with energy. In fact, you know what I’m going to do? I’m even going to take off one more lower leaf. Yeah, I’m going to do that.
There you go. Now, with the lower cutting, this one actually already put out a new vine. As you can see here, it’s already put out a new vine. That’s very cute. For this one, what I could probably do is… I’ve already got a pot set up here. Let me set this. Then, I’m just going to plant this right in there. Now, for a plant like this, it’s actually a good idea to do a bit of a tent action here so it doesn’t lose too much moisture from the leaves.
Quick crash course again: this is not the healthiest leaf; it’s already got some crisping edges around the side. But with the cutting, you do want to have this. This right here is a main node, and it’s going to root from the bottom of the stem here. This is where the new branch is going to emerge, this little nub right in the middle here. You need all that component for it to put out a new baby plant. Of course, I want to water this religiously because it’s in a terracotta pot. It’s going to dry out really fast, so I’m going to have to probably water this and drench it every single day. Or, if I put this in a contraption and cover it for humidity, that also works.
I’m going to take another top cutting and then take off one of the leaves. Now, it’s already trying to put out another leaf, so it’s very, very stressed out at this point, I’m pretty sure. Let me show you where I made the cut just now. I made a cut over here, and I do want to leave two leaves on this stem so that this plant can still photosynthesize and push out some lower vines, which we can also propagate later on. So, you don’t want to keep it too bald.
Now, going back down, if you want to be super greedy, we can turn this into many plants. Actually, this is one. I don’t want to put all my eggs in one basket, I think, so I might try a few different methods and place them in different areas of the house to propagate them. But again, in this situation, you do need high humidity, and you need to make sure that it’s nicely watered, but you don’t want to keep this sitting in water or too wet as well because it can actually rot if you let this sit in too much water.
Once you get the hang of propagating a begonia, it’s not that hard. This is a cute vine, so I’m going to leave it as it is. I might even twirl it up here so it can stand on its own. Now, this is very, very infected-looking, so I’m going to completely take this vine off and not do anything with it. And this one vine here… Let me see. I may take the tip off and propagate. Usually, the tippy-top portion is the most precious, so I’m going to put it in a water propagation vessel with the other one from before.
Alright, there you go. We’re going to wait for updates on these. Now, I’ve prepared another pot here, and this is going to be propagated in moss. All these additional cuttings are going right in here. Take more, take more cuttings. Find the healthy leaves where possible. The healthier leaves are going to really make a big difference. This is still pretty healthy for me.
So, yeah, that is it. I’m going to start watering this after, and I’ll see you guys in a few months. Hopefully, I’ll be able to show you a nice bushy pot of this Begonia maculata that looks much nicer and more manageable. With this plant, you really want to keep chopping it up because they’re fast growers, and you need to keep maintaining it. Then, you’ll have some extra cuttings that you can share with your friends as well.
This is one-week update! Everything seems to be doing fine. I haven’t seen any dramatically crisping or declining leaves from here. On the parent plant, I can also see that new vines have started to appear. This is so stinking cute. I love watching this Begonia sprawl out new leaves. This one has an active growth point, so it will put out a new branch here soon. I’m waiting for these to root up. I’ll give you guys an update in a few months.
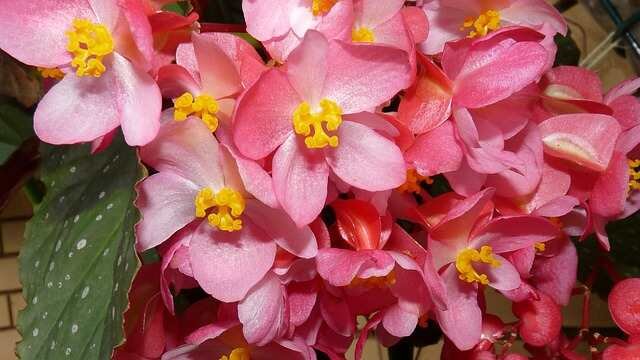
Welcome to a six-week update! The mother plant has baby leaves. It’s getting bright, indirect light, and I think it’s putting out leaves with very little red underside, which is what we don’t like. So, I’ve actually chucked the babies, the propagated plants, all the way in the back of the shelf so they receive slightly less light than before. The plant put out new baby leaves, and some of them are showing a little bit of red underside. So, I’m hoping for more, and I’m hoping to get the good old crimson Begonia maculata that we all love.
Alright, guys. That’s it for this update article. Thank you so much for reading.
Happy Gardening.