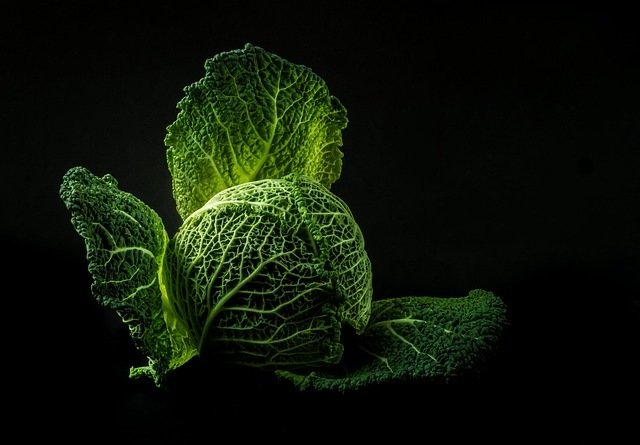
Fall means rain, but it also means planting your brassicas. Cabbage is the original brassica that has unfortunately taken second stage to its more popular cousins: broccoli, cauliflower, and kale. Cabbage rolls are officially the worst thing on the planet, sorry mom but they are, but give me a crunchy coleslaw or a spicy veggie taco and I’ll be in flavor heaven. So let’s make the most of this rainy fall day and plant some epic red cabbage.
Whenever you’re planting observing no-till, no-dig, perm culture-type methods, the success of that crop, no matter what it is, always relies on the bed’s preparation. Prepping a no-till bed is really a piece of cake. First, you’re going to want to remove the weeds, if there are any, by simply cutting them off right at the root collar. After that, work on leveling the bed gently and carefully, as to not disturb that top layer of the soil profile. With the bed nice and level, we could technically start planting right now, but to get the true benefit of a no-dig garden, you really want to sheet mulch this to suppress those weeds.
Sheet mulching is easy. I use rolls of recycled brown craft paper. They just work like a charm and they’re really nice to lay down as a barrier all in one piece. Next, I’ll start to lay down a layer of pure compost, about two inches thick will do. This is the key to the no-dig method guys; we’re literally gonna plant right on top of the old summer mulch, no digging, no tilling, no messing with that soil at all. With enough compost in place, we can now go ahead and cut that piece of craft paper right to size. Cover the remainder of that paper and level it as best you can so that it’s going to be able to receive our plants. Perfect! This is what an ideal no-till bed looks like after less than four minutes of preparation.
The actual planting of the cabbage is super easy. We simply take them out of the pots, place them, and space them right on top of that soil there, bare-rooted and away we go. If you’re not planting on an epically soggy day like I am here, you’re gonna want to also water that bed down before you put the plants on to avoid transplant shock. Simply place those cabbage starts right on the soil surface like we talked about before, spaced a minimum of 12 inches apart, preferably 16 to 18 inches if you have the space. Work your way down the bed, dreaming of giant epic red cabbages in your near future.
Now we’re ready to consolidate the planting. But wait, what are we going to do that with? Well, that’s simple, potting soil, either store-bought or your own. If you’re making your own like me, you’re going to want to use a 50-50 cocoa fiber and compost mix as a base. And if you’re feeling frisky and you want a serious boost for your plants, you can add some amendments such as rock dust, alfalfa meal, crushed oyster flakes, canola meal, and even some Epsom salts. Mix it all together like you mean it and you’ve just made the best potting mix ever created.
Back to our planting, two to two and a half scoops of our epic potting mix is plenty to plant these guys up. Cover the root ball generously right up to within an inch of the cabbage plant’s first set of leaves. Last one, good stuff. Before we continue, let’s firmly but carefully compress those mounds down to really complete the planting. It’s so nice to actually work with your hands rather than with tools and machinery. With these guys all snug and perfectly planted, let’s talk about mulch.
My mulch of choice in this instance is gonna be grass clippings and shredded leaves. You’ve seen me use straw a lot lately and that’s great for plants that are slowing down or they’re entering their winter dormancy. But for our cabbage here which we want to grow and produce for us in a relatively small window, the nitrogen boost from decomposing grass is most welcome, as is the heat generated from the exothermic process. Lay it on super thick, upwards of four inches is great.
With the first rain and/or your watering, that mulch layer will compress by up to 30 percent. Look at these guys! If that’s not cabbage Shangri-La, I don’t know what is. What an easy, straightforward way to plant. I’ll put up a 30-second pictorial right at the end, but first, let’s say a few words about the importance of regenerative agriculture and preserving your soil’s top layers.
When I think of regenerative agriculture as it pertains to the backyard gardener, I think of two things: support your soil so that it can support your plants, that is. Your soil is the lifeblood of your garden and without it being in perfect balance, your crops likely won’t be either. You can accomplish this by leaving your topsoil layers intact, avoiding chemical fertilizers, and diligent mulching. The second thing I think about is the healthier your soil is, the healthier your plants are and that in turn gives us more nutrient-packed fruits and vegetables to share with our family. Additions such as compost and worm castings coupled with the absence of harmful chemicals will foster this nutrient relationship, providing you with more sustainable rewards for less effort. It really is the way of the future, the way that nature intended.


